Lock Down Project - Time to Remodel the Van!
- Joanne Staples

- Oct 17, 2022
- 3 min read
So we couldn’t go anywhere and had time on our hands! Jo had plans and I was going to be busy remodeling the van.
Our current layout was temporary, as we said we wanted to get use to the van and work out want we needed, what would work best for us.


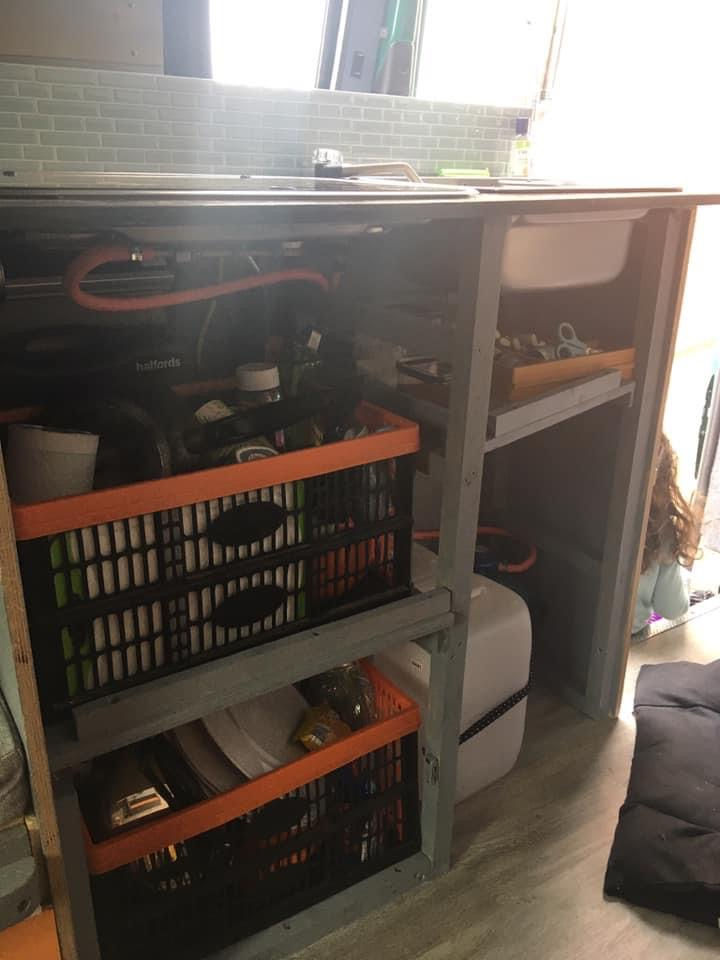
Our current setup consisted of a double bench seat in the back that converted into our bed, we made a fold out bed that came over the double seat in the back to make the kids bed and the kitchen was a unit with open shelves and B&Q baskets held in place with Bunji cords and a sink/hob combo. This was not an Instagramable van by any stretch of the imagination!
The new layout
We like the bed in the back of the van and the kids bed worked out really well although we needed to rethink how it was supported to make it easier to put up and take down. The new layout incorporated eveything we needed and kept the open feel that we liked. We made sure that there was enough storage incorporate into the design for clothes, food and bedding.
We had a rough plan of were everything needed to go, and now was the time to make a start!

Image not to scale
So where to start first?
The kitchen was something that needed re-modeling and the layout was going to be based on three key elements, the fridge, the hob and the sink! We opted for the Outwell Deep Cool 28L compressor cool box as it was a top loader and used very little power to run, this was important for when we were not on hook up. Jo wanted a two burner hob and a large sink bowl, as being able to cook for the family in the van was an important part of the kitchen design.
We stripped out the old kitchen unit and started by laying out the area the kitchen would take up and placing the fridge so that we could work out how to access it even when the kids were in bed. The sink and the hob determined the overall shape and width of the kitchen unit, so it ended up being an L shaped.


The worktop Jo had picked out was a butcher block, and the tiles were a small subway tile that were on a foam backing which is the perfect solution for the van due to the movement when driving around. We decided on a light grey flexiable grout to finish them off.

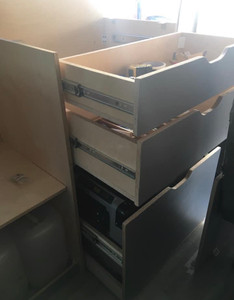
All the units and draws are made from 15mm birch plywood, we added two draws above the fridge and two cupboards under the sink.
All the kitchen cupboards were painted with a medium gray chalk paint, leaving the edges natural and finished with the same water based varnish that I use on my table tops, so we know it will be hardwearing.


The butchers block was cut to the L shape, the sink and hob was fitted and we sealed the wood. We added an extention of the worktop to add some extra work surface and we have a chopping board that this stored in the cupboard that sits on the sink to give extra surface space.


Overall we are really pleased with how our kitchen unit worked out. There is plenty of storage space for everything we need and the fridge has worked out perfectly for our needs. Overhead storage will finish off the kitchen area and Jo really wants to add a larder unit somewhere in the van. But you will just have to wait to see what solution we came up with for that!
Next project on the list was ventilation and Solar!


Comments